
Add/Edit Resources
Add or Edit Resources in the Scheduler
The Scheduler makes it quick and straightforward to add new resources or edit existing ones.
Add/Edit/Remove Resource
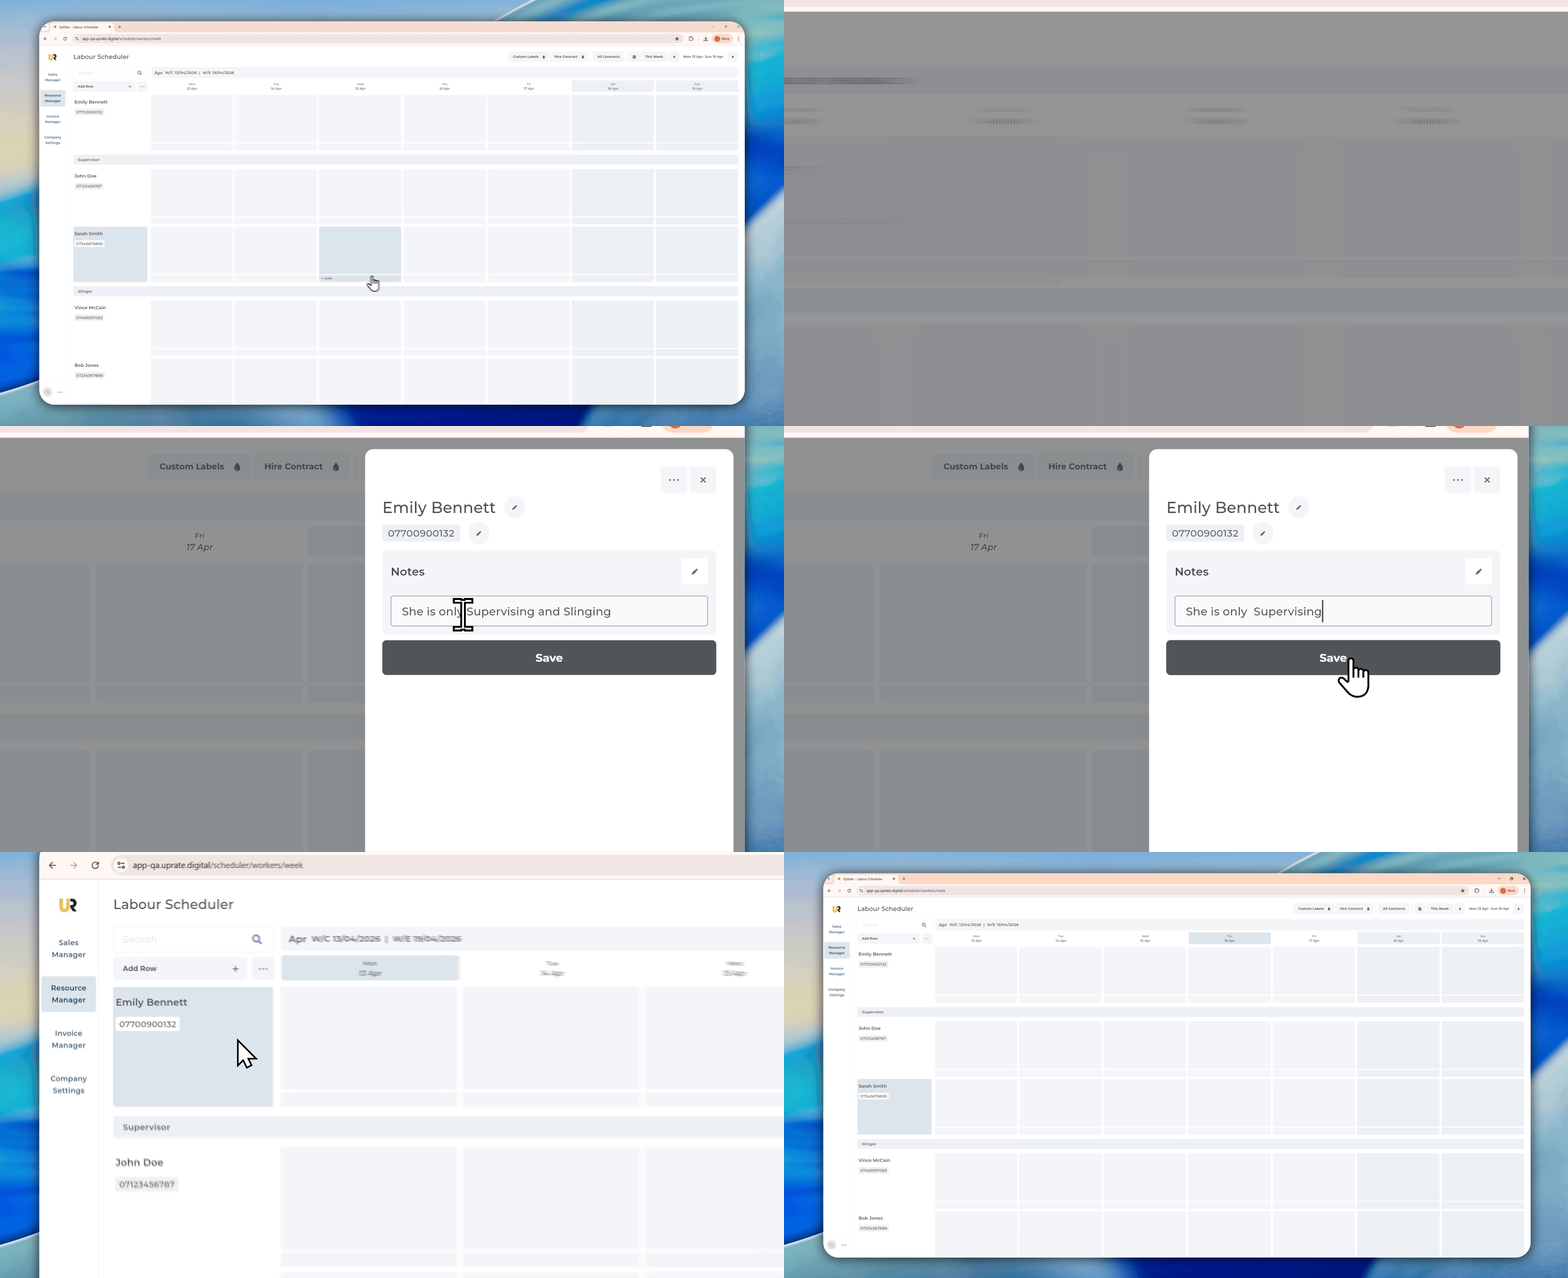
Add New Resource
Open the Resource Manager.
Click Add Row.
Enter the resource details.
Check for any matching existing resources.
Click Save & Add.
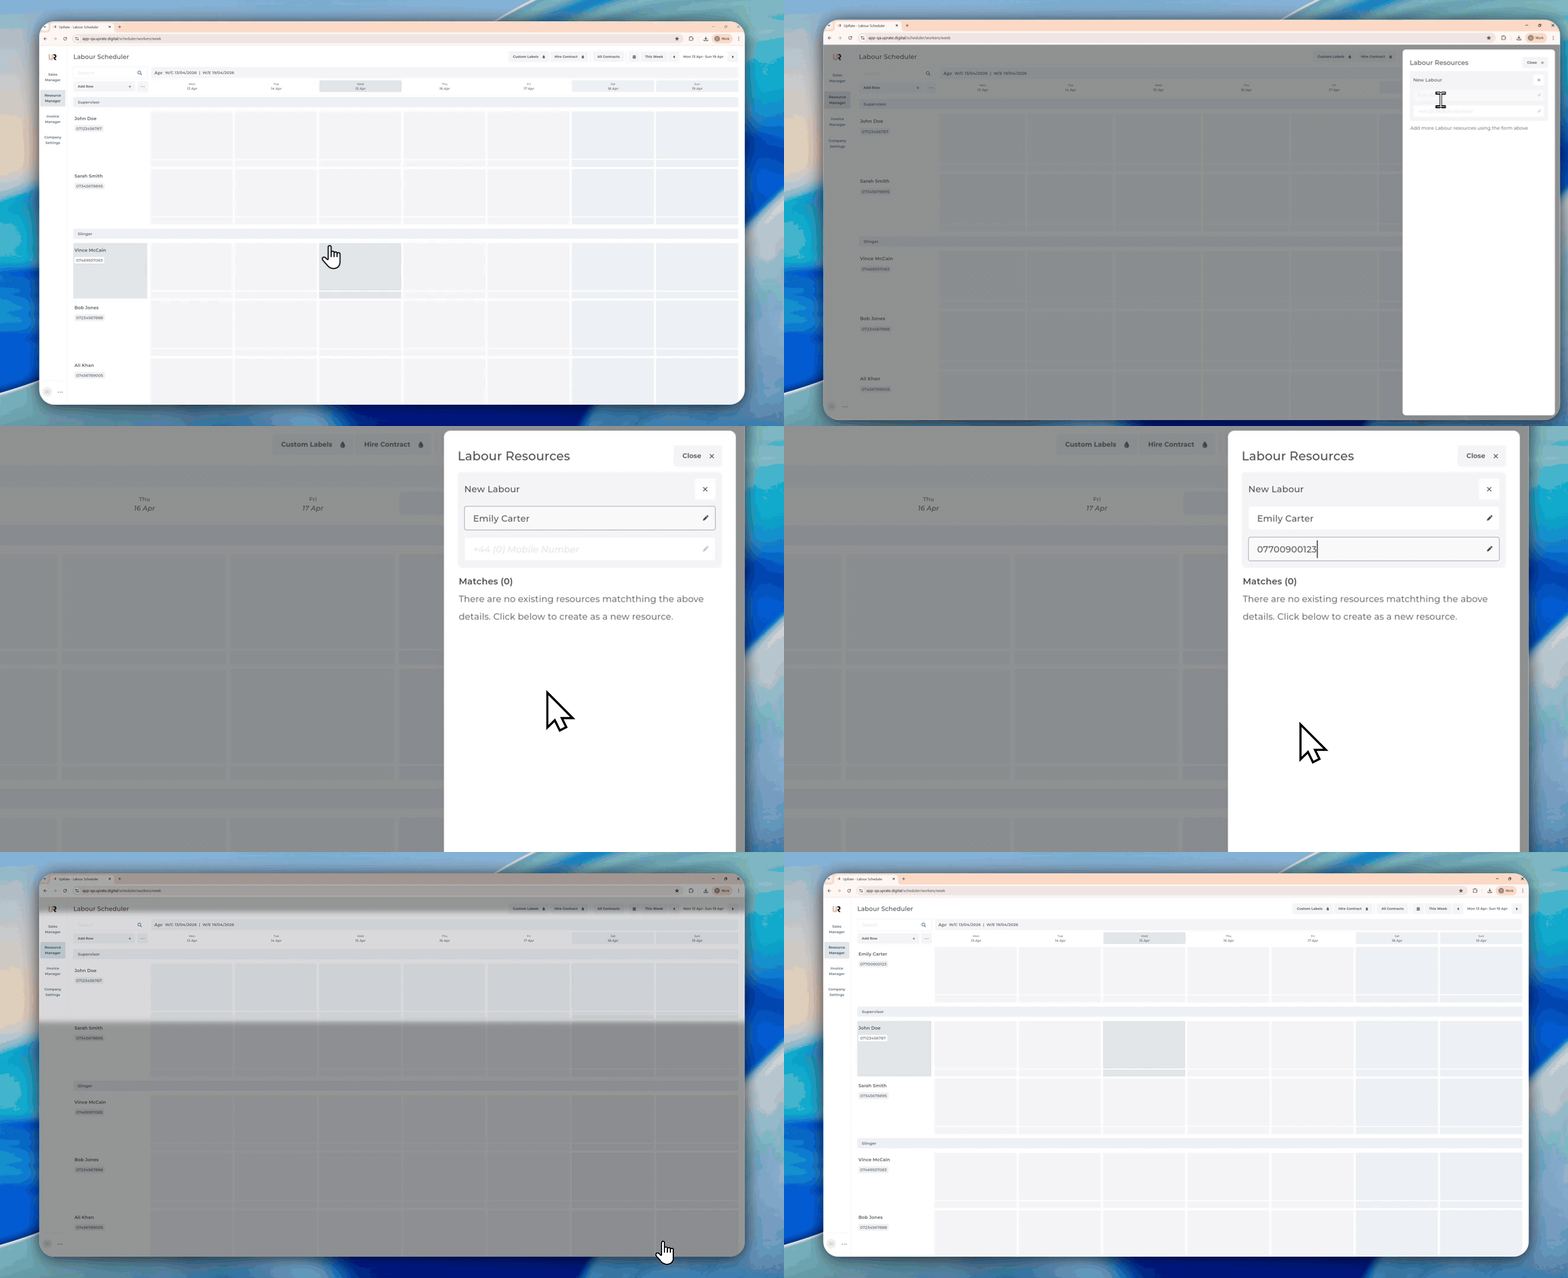
Edit Resource Details
Find the resource in the Scheduler.
Right-click the resource header.
Click Edit Worker/Asset.
Update the resource details.
Changes save automatically.
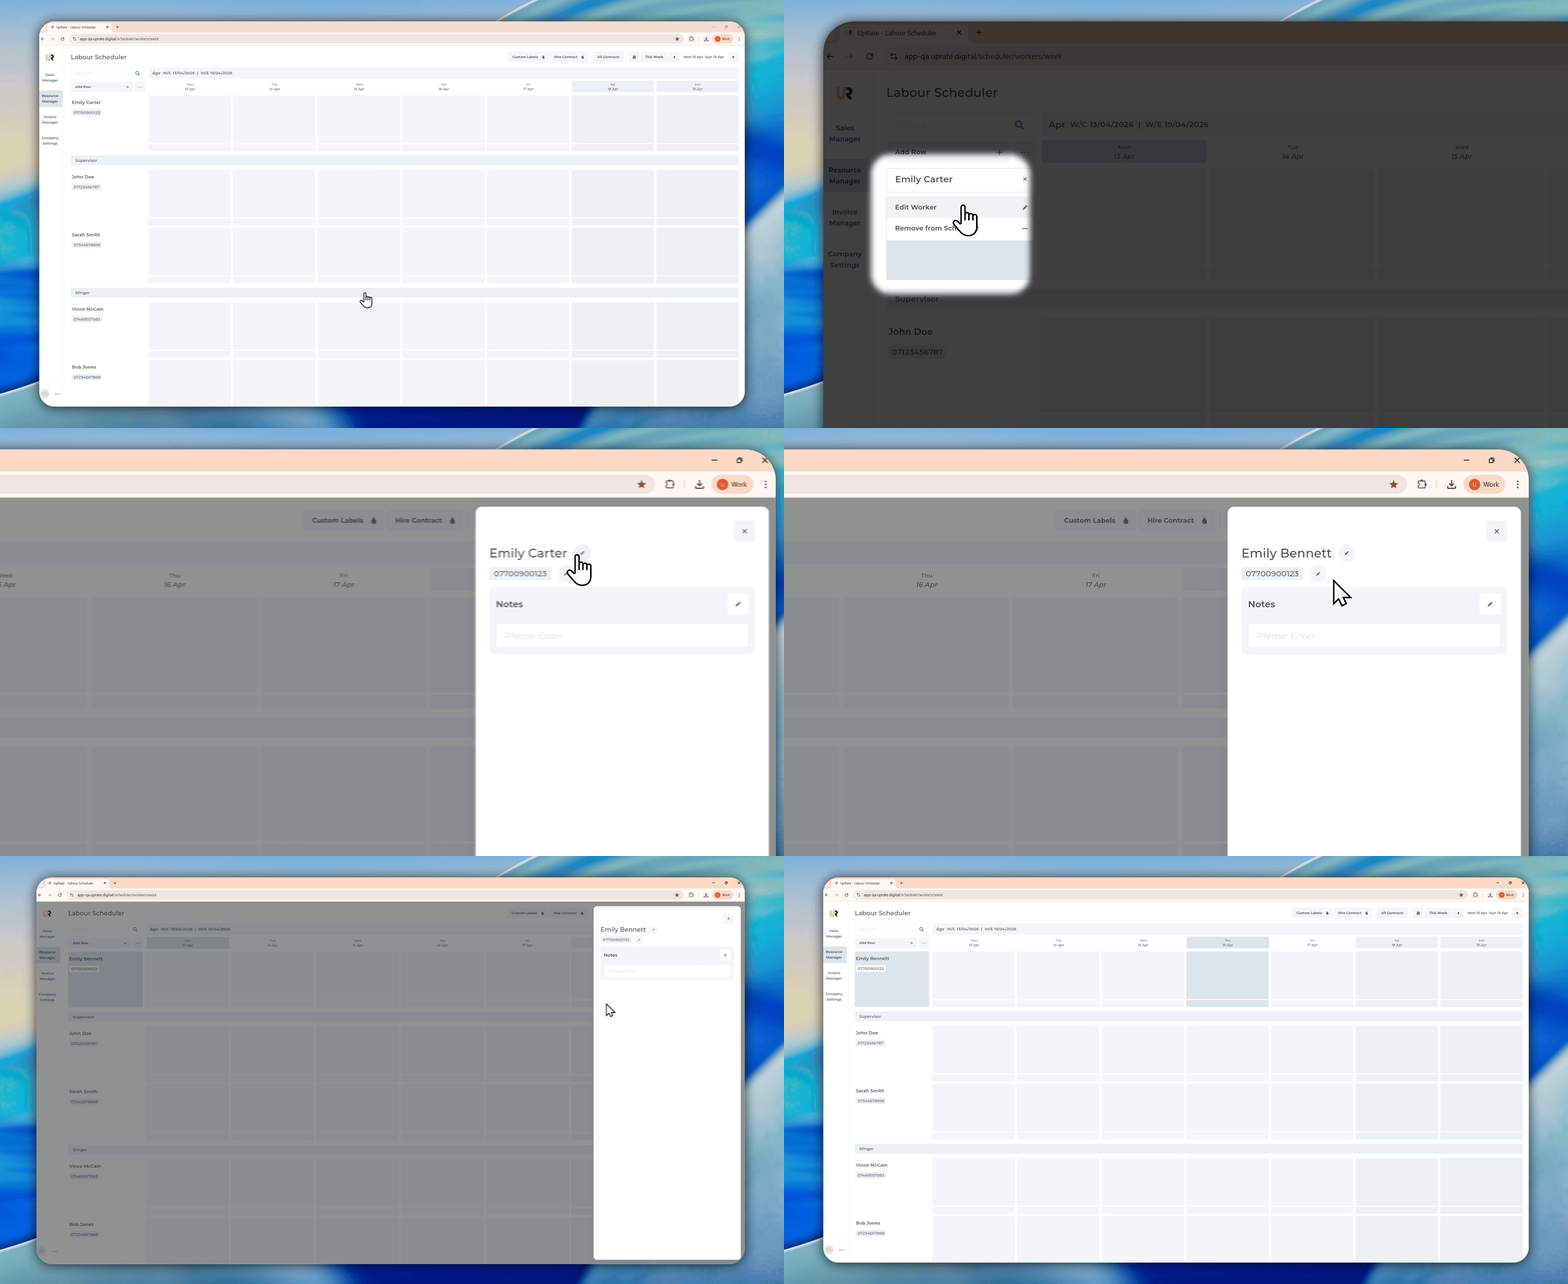
Remove Resource
Removing a resource is a simple process, but it should still be done with care, as the resource may already be linked to existing assignments, documents, or other records in the system. Removing a resource from the Scheduler does not permanently delete it. Instead, the resource is archived, meaning all of its data is retained across the Scheduler and the wider system. If needed, the resource can be restored at any time, along with its existing data and related records.
Right click on the asset you want to remove
Click Remove from Scheduler
Removing a resource from the Scheduler does not permanently delete it
The resource can be restored at any time
All data is preserved, including previous assignments and uploaded documents
This action only removes the resource from the Scheduler
The resource itself is not deleted from the system
Restore Removed Resource
Once a resource is removed from the scheduler, you can easily bring them back.
Click on Add Row in the header column
Select the resource you want to add back
Click Add
Restoring a resource will also restore its previous assignments on the Scheduler
Removing a resource from the Scheduler does not remove it from existing assignments
This helps preserve important data for invoicing and other operational needs
When the resource is restored, its related Scheduler data is reinstated automatically
Notes
You can add notes to individual resources to record useful information for you and your colleagues, such as their working days, home location, or details of the training they have received.
Notes for the resources are not the same as daily notes. This information is internal only and is only visible for the hire desk.
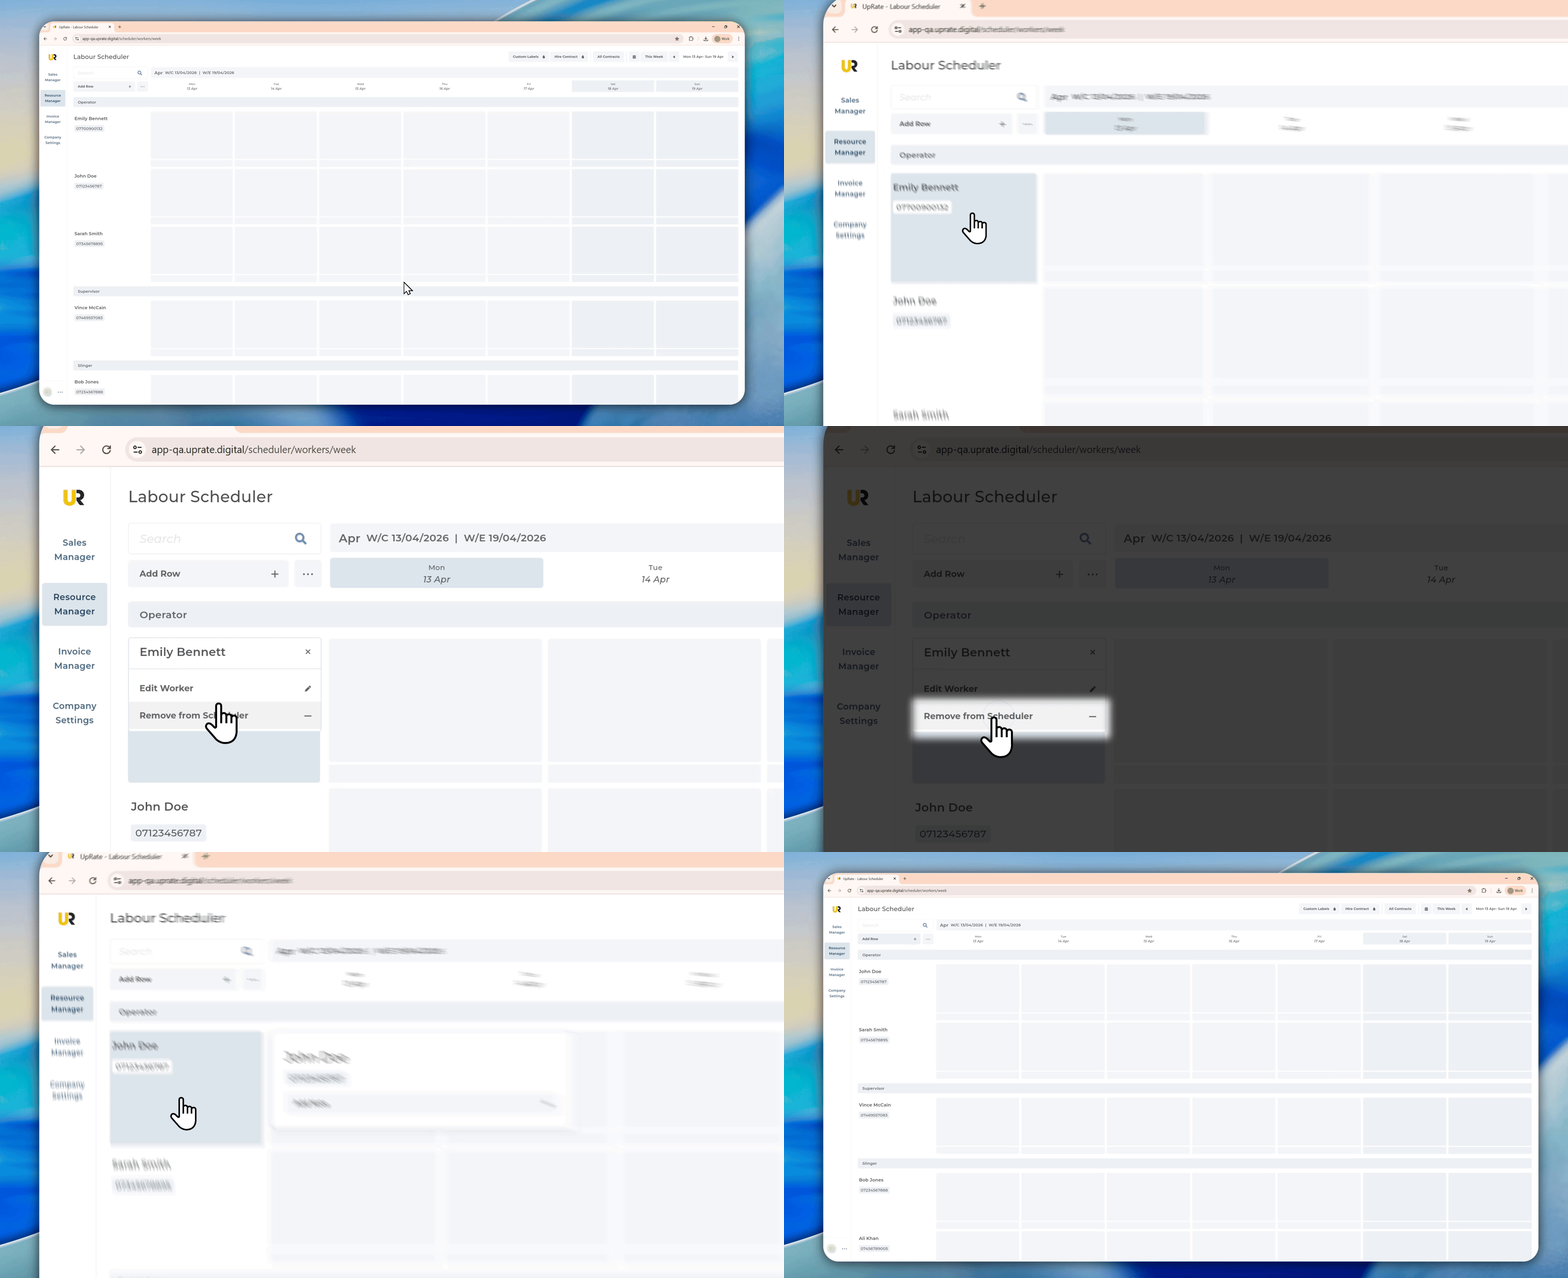
Add Notes To Resources
Go to the Scheduler
Hover over the resource’s header
Click Add Note
Enter the note for the resource
Click Save
Edit Notes For Resources
Go to the Scheduler
Hover over the resource's header
Click Edit Note
Add note to the resource
Click Save